There’s nothing better than the smell of something freshly baked filling the kitchen. Whether it’s a childhood favorite or a new twist on a classic, this recipe is pure comfort. Today, I’m excited to share my signature garlic aioli recipe—a creamy, tangy, and irresistibly delicious sauce that’s become a staple in my kitchen.
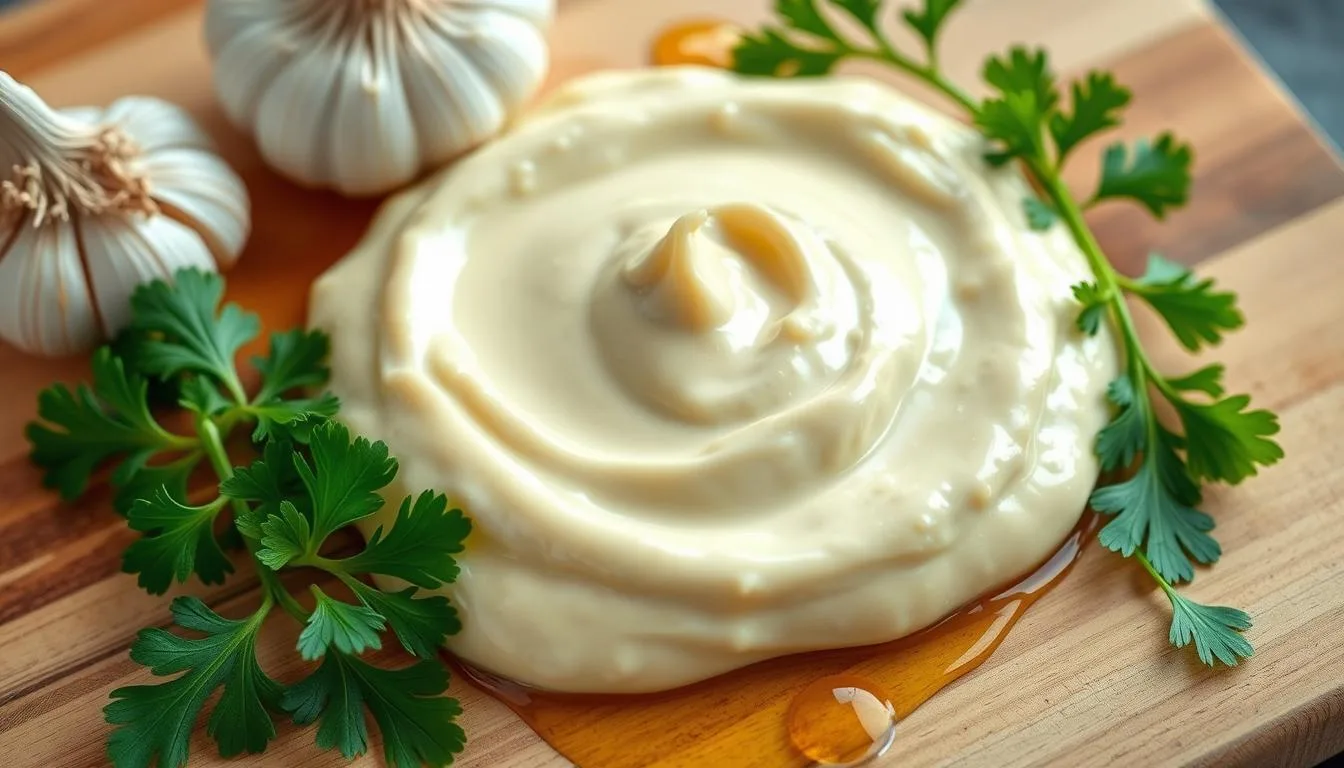
What makes this garlic aioli special? It’s all about the balance. I use fresh garlic for that bold punch, combined with quality olive oil and room-temperature eggs for the silkiest texture. A squeeze of lemon and a pinch of salt are the perfect counterpoints, cutting through the richness and elevating the flavor to new heights. Best of all? It’s ready in just minutes, thanks to a quick blend in a food processor.
Whether you’re a seasoned cook or just starting out, this recipe is designed for success. Let’s get started and bring this delicious creation to life!
Introduction to My Garlic Aioli Recipe
My journey with garlic aioli began like many others—relying on store-bought options that promised convenience but lacked depth. But once I discovered the magic of making it from scratch, there was no turning back. The transformation was nothing short of remarkable.
My Journey with Homemade Aioli
What started as a curiosity soon became a passion. I remember the first time I tried making aioli from scratch. It was intimidating, but the result was eye-opening. The flavor was richer, the texture creamier, and the satisfaction of creating something from raw ingredients was unparalleled.
Fresh garlic, lemon juice, and quality oils became my new best friends. These ingredients, often overlooked in store-bought versions, make all the difference. The process, once daunting, turned into a therapeutic ritual. Each step—grating the garlic, squeezing the lemon, and slowly drizzling the oil—became a meditation, a dance of flavors.
Why This Recipe is a Game-Changer
This garlic aioli recipe is more than just a dip or a spread; it’s a statement. By using both a whole egg and an egg yolk, I ensure a smoother emulsification process. The result? A sauce that’s not only delicious but also versatile.
The balance of simplicity and gourmet flavor is what makes this recipe special. It’s quick to prepare, requiring just a few minutes in a food processor, yet it elevates any dish with its presence. Whether you’re a seasoned chef or a kitchen newbie, this aioli is your new go-to condiment.
So, join me on this flavorful journey. Let’s redefine what aioli can be—one delicious batch at a time.
Ingredients and Essential Tools
To craft the perfect garlic aioli, you need the right ingredients and tools. Fresh, high-quality components are key to achieving that creamy, flavorful texture everyone loves.
Fresh Ingredients for Maximum Flavor
Fresh garlic is the star of the show, providing a bold punch that elevates the aioli. Freshly squeezed lemon juice adds brightness and cuts through richness, while room-temperature eggs ensure a smooth emulsification process. For the oils, I recommend a mix of extra-virgin olive oil and a neutral oil for balanced flavor. A pinch of quality salt and freshly ground pepper enhance the overall taste without overpowering it.
Must-Have Kitchen Gadgets
A microplane grater is perfect for finely grating garlic, ensuring even distribution. A food processor or immersion blender simplifies the emulsification process, making the aioli smooth and creamy. Choose a bowl that suits your mixing style, and don’t forget a pinch of quality salt and pepper to bring out the flavors.
With these ingredients and tools, you’re ready to create a delicious garlic aioli that’s perfect for sandwiches, fries, or as a dip for roasted vegetables. The combination of fresh flavors and quality tools ensures a tasty and versatile result every time.
Step-by-Step Preparation Process
Creating homemade garlic aioli is an art that requires attention to detail and a bit of patience. Let’s break it down into simple, manageable steps to ensure your success.
Getting Started: Prepping Garlic, Eggs, and Lemon
Begin by peeling 3-4 garlic cloves, depending on their size and your desired flavor strength. Next, separate 1 egg yolk from the whites and let it reach room temperature along with 1 whole egg. Juice a fresh lemon and measure out about 1 teaspoon of the juice. These initial steps set the foundation for a smooth emulsification process.
The Emulsification Technique Explained
In a food processor, combine the egg yolk, garlic, lemon juice, and a pinch of salt. Blend until the mixture is frothy. Now, slowly drizzle in 1 cup of olive oil through the top while continuously blending. This gradual addition is key to forming a stable emulsion. Stop occasionally to scrape down the sides and check the consistency. If it becomes too thick, a teaspoon of warm water can be added to thin it out. Continue until the mixture reaches your desired creaminess, ensuring a perfect balance of flavors and texture.
By following these steps, you’ll achieve a delicious garlic aioli that’s both rich and versatile, perfect for various dishes.
Expert Secrets to a Perfect garlic aioli recipe
Elevating your aioli to new heights is all about the details. Whether it’s the oils you choose or the seasonings you adjust, these expert tips will help you craft a truly exceptional sauce.
Selecting the Right Oils for a Balanced Taste
The choice of oil is crucial for achieving that perfect balance of flavors. I recommend blending extra-virgin olive oil with milder oils like avocado or grapeseed. This combination ensures the aioli isn’t overly dominated by any single flavor, creating a smooth and refined taste. The fat content in these oils contributes to the luxurious texture, making each bite feel indulgent without being overpowering.
Adjusting Seasonings for Your Personal Twist
Seasoning is where you can truly make the aioli your own. Start with a pinch of quality salt and freshly ground pepper, then taste and adjust. For a brighter note, add a squeeze of lemon juice or a splash of vinegar. These small tweaks can transform the aioli, whether you’re serving it with french fries, as a dip for chicken, or alongside roasted vegetables. Remember, the key is to taste as you go, fine-tuning until it’s just right. Timing is everything—rushing the emulsification can ruin the texture, so take your time and add the oil gradually for the best results.
Creative Ways to Enjoy Your Homemade Aioli
Now that you’ve crafted your homemade aioli, it’s time to explore the countless ways to enjoy it. This versatile condiment can elevate a variety of dishes, making it a staple in your kitchen.
As a Condiment for Sandwiches and Burgers
Transform your sandwiches and burgers with a rich, creamy kick. Spread a tablespoon of aioli on your freshly toasted burger for an enhanced flavor experience. It’s the perfect condiment to complement juicy meats and crisp vegetables, adding a luxurious touch to every bite.
Elevating Dips and Roasted Vegetables
Take your snacks and sides to the next level by using aioli as a dip. Serve it alongside roasted vegetables like asparagus or Brussels sprouts for a delicious contrast of flavors. Drizzling a tablespoon over roasted veggies or fries adds a tangy, creamy element that’s hard to resist.
Whether you’re enjoying a quiet evening at home or hosting a gathering, aioli is a versatile addition to any meal. Try it on a crisp salad on a sunny day for a fresh, zesty taste. With just a tablespoon, you can transform any dish into something special.
Storage Tips and Shelf Life Considerations
Once you’ve made your delicious aioli, it’s important to store it properly to maintain its freshness and flavor. Proper storage ensures your aioli remains a tasty side for all your meals.
Best Practices for Keeping Your Aioli Fresh
To keep your aioli fresh, store it in an airtight container in the fridge. This will help preserve the protein-rich texture and prevent contamination. Always use a clean utensil when serving to avoid spoilage.
How Long Can You Store Homemade Aioli?
Homemade aioli typically lasts up to a week in the fridge. Freezing isn’t recommended as it can break down the emulsion. If you’re short on time, consider a “cheater” version using store-bought mayo, but note it won’t last as long as homemade.
A small bit of care can extend the life of your aioli. Keep it refrigerated and use it within a week for the best taste. Remember, over-storage can affect its quality, so enjoy it while it’s fresh!
Conclusion
Making aioli from scratch is a simple yet rewarding process that brings restaurant-quality flavor right to your kitchen. By using fresh ingredients and careful techniques, you can create a condiment that’s both luxurious and versatile. Whether you’re drizzling it over a fresh salad, serving it as a side for low-carb dishes, or using it as a dip, this aioli elevates any meal.
Don’t forget to store your homemade aioli in an airtight container to keep it fresh for up to a week. Experiment with different flavors by adjusting the seasonings to suit your taste. I’d love to hear how your aioli turns out—share your creations and tips in the comments below! Let’s cook up something delicious together.
FAQ
How long does homemade garlic aioli last in the fridge?
Homemade garlic aioli typically lasts for up to one week when stored in an airtight container in the refrigerator. Make sure to keep it chilled and away from direct sunlight to maintain freshness.
Can I make garlic aioli without using raw egg?
Yes! You can use pasteurized eggs or egg substitutes to reduce the risk of raw egg consumption. This makes it safer while still achieving that creamy texture.
What’s the best way to fix garlic aioli if it doesn’t thicken?
If your aioli doesn’t thicken, try adding a teaspoon of lemon juice or water to the bowl while slowly whisking in a little more olive oil. This should help it emulsify properly.
Can I use garlic aioli as a dip for french fries?
Absolutely! Garlic aioli is a fantastic dip for french fries. It adds a rich, creamy flavor that pairs perfectly with crispy potatoes.
Is garlic aioli suitable for a low-carb diet?
Yes, garlic aioli is low in carbs and can be a great addition to a low-carb diet. Just be mindful of portion sizes if you’re tracking calories or fat intake.
Can I make garlic aioli ahead of time for a party?
Yes, you can prepare garlic aioli a day or two before your event. Store it in an airtight container in the fridge to keep it fresh and ready to serve.
What’s the difference between garlic aioli and mayonnaise?
Garlic aioli is essentially a flavored version of mayonnaise, with the addition of garlic, lemon juice, and sometimes other seasonings. It has a stronger, more aromatic taste compared to plain mayo.
Can I use garlic aioli as a sandwich spread?
Definitely! Garlic aioli makes a delicious sandwich spread, adding a tangy, savory flavor to burgers, chicken sandwiches, or even veggie wraps.
How do I prevent garlic aioli from separating?
To prevent separation, always use room-temperature ingredients and whisk slowly when adding the oil. This helps maintain the emulsion and keeps the aioli smooth.
Can I freeze garlic aioli for later use?
Freezing is not recommended, as it can cause the aioli to separate and lose its creamy texture. Stick to refrigeration for the best results.