There’s nothing better than the smell of something freshly baked filling the kitchen. Whether it’s a childhood favorite or a new twist on a classic, this recipe is pure comfort. For me, it’s more than just a meal—it’s a tradition passed down through generations.
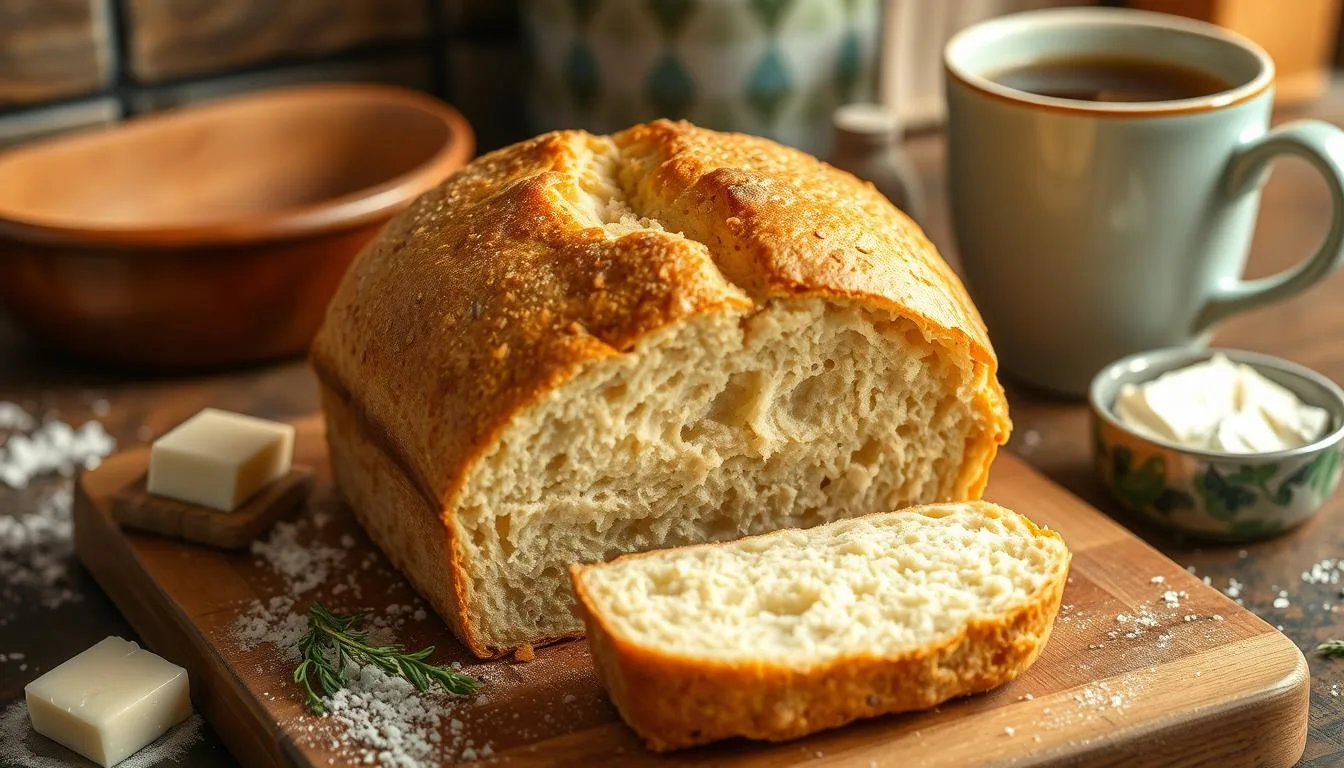
This Irish soda bread recipe is a treasured family secret, inspired by my grandmother’s cherished recipe. It uses simple ingredients like baking soda and buttermilk to create a loaf with a crusty exterior and a tender inside. The best part? It’s quick to make, requiring no yeast and minimal hands-on time.
As we explore this recipe together, I’ll share the history behind it, the essential ingredients, and some helpful techniques. I’ll also cover common troubleshooting tips to ensure your bread turns out perfectly every time. It’s all about honoring tradition while using quality ingredients to create something truly special.
So, let’s get started and bring this delicious creation to life! I promise you’ll find insider tips and personal anecdotes that will make this bread a staple in your kitchen.
Introduction: My Journey with Irish Soda Bread
My love affair with Irish soda bread began in my grandmother’s cozy kitchen, where the aroma of freshly baked goods filled the air. Those early memories sparked a passion that has only grown stronger with time.
My grandmother’s legacy was more than just a family recipe; it was a tradition. She taught me the basics of working with dough, emphasizing the importance of simple ingredients like baking soda and buttermilk. These elements transformed a basic mixture into something extraordinary.
As I grew older, I began experimenting with the dough, learning through trial and error. Discovering how baking soda reacts with buttermilk to create a light texture was a revelation. This process made me appreciate the beauty of quick bread—no yeast required, just a swift mix and bake.
Mixing a few basic ingredients opened my eyes to the simplicity of home baking. Over time, I’ve incorporated modern twists, blending tradition with contemporary flavors. This journey has taught me that sometimes, the simplest recipes hold the deepest meaning.
The History and Traditions Behind Soda Bread
Soda bread holds a special place in many hearts, especially during celebrations like St. Patrick’s Day. This traditional treat is more than just a meal; it’s a symbol of heritage and family bonds.
My Grandmother’s Legacy
My grandmother’s kitchen was where I first experienced the magic of soda bread. She’d mix flour, baking soda, and buttermilk with such care, creating a dough that was both simple and extraordinary. Those moments taught me the value of tradition and the joy of baking.
Her recipe was a cherished family secret, passed down through generations. The crusty exterior and tender inside were a testament to the perfect blend of ingredients. It wasn’t just about the taste; it was about the love and history in every loaf.
St. Patrick’s Day Memories
St. Patrick’s Day was always a special time in our house. The aroma of fresh soda bread filled the air, blending with the excitement of the celebration. It became a tradition that brought our family closer together.
Interestingly, the term “soda” in soda bread comes from baking soda, the leavening agent that makes the dough rise. This historical touch connects each loaf to its origins, making every bite a trip back in time.
These traditions inspire me to keep the recipe alive while adding modern twists. It’s a way to honor my grandmother’s legacy and share the joy of soda bread with new generations.
Ingredients and Essential Tools
When it comes to crafting the perfect loaf, every ingredient and tool plays a vital role. Let’s break down what you’ll need to create this family heirloom recipe.
Key Ingredients and Their Role
- Purpose flour provides structure and tenderness, making it essential for the bread’s texture.
- Cold butter is crucial for a flaky crumb, while cold buttermilk ensures the dough rises properly.
- Other ingredients include sugar, baking soda, salt, and an egg for richness.
For substitutes, mix 1 cup of milk with 1 tablespoon of white vinegar or lemon juice to create a buttermilk alternative. Always spoon and level flour when measuring to avoid overpacking.
Must-Have Kitchen Tools
- A cast iron skillet or oven-safe skillet is ideal for achieving a crispy crust.
- A pastry cutter helps distribute butter evenly, enhancing the bread’s flaky texture.
- Regular seasoning of your cast iron cookware maintains its non-stick surface and prevents rust.
Investing in quality tools and ingredients ensures your bread turns out perfectly every time, just like my grandmother’s treasured loaves.
Step-by-Step Dough Preparation
Creating the perfect dough is where the magic begins. It’s all about balance—just the right mix of ingredients and a gentle touch to keep things simple.
Mixing Dry and Wet Ingredients
In a large bowl, whisk together 2 cups of flour, 1 teaspoon of baking soda, and a pinch of salt. Add a bit of sugar for sweetness. Cut in cold butter until the mixture resembles coarse crumbs, about pea-sized pieces. In a separate bowl, whisk 1 cup of buttermilk with 1 egg until smooth. Pour the wet mixture into the dry ingredients, stirring just until combined. Be careful not to overmix—it’s key for a tender crumb.
Shaping and Scoring the Dough
Lightly knead the dough on a floured surface for about a minute until it comes together. Shape into a round loaf, keeping it slightly shaggy. Place on a baking sheet or skillet. Use a sharp knife to score a deep cross on top, allowing the dough to expand evenly while baking. This step ensures a beautiful, crusty loaf every time.
Mastering the irish soda bread recipe
Achieving the perfect crust in your soda bread recipe is all about precision and a gentle touch. Over the years, I’ve learned that it’s the small details that make a big difference in the final result.
Handling the Dough with Care
Start by mixing your ingredients just until they come together. Overmixing can lead to a dense loaf, so stop once the dough forms. Minimal kneading—about 1 minute—is key to preserving the dough’s delicate structure.
Preheating for Consistency
Always preheat your oven to the recommended temperature. This ensures even rising and a crispy crust. For an extra touch, place a baking stone in the oven while preheating to enhance crust formation.
Activating Baking Soda
Cold buttermilk is essential for activating baking soda. The acidity in the buttermilk reacts with the baking soda, creating a light, tender interior. Keep your ingredients chilled before mixing for the best results.
Checking for Doneness
Tap the bottom of the loaf—it should sound hollow. Use an instant-read thermometer to check for an internal temperature of 190-200°F for a perfectly baked crust.
Adjusting for Room Temperature
If your kitchen is warm, consider chilling the dough briefly before baking. This helps maintain the dough’s structure and ensures even rising.
With these techniques, your soda bread will have a golden, crusty exterior and a tender interior. Each step builds on the last, creating a loaf that’s both traditional and delicious.
Baking Techniques and Oven Tips
Mastering the art of baking requires attention to detail, especially when it comes to your oven and bakeware. The right tools and techniques can elevate your results, ensuring a perfectly baked loaf every time.
Choosing the Ideal Bakeware
The choice of bakeware significantly impacts the crust and texture of your loaf. A cast iron skillet is an excellent option for achieving a crispy exterior and even heat distribution. Alternatively, a rimmed sheet pan can also produce great results, especially if you don’t have a skillet on hand.
When using a cast iron skillet, ensure it’s preheated in the oven before placing the dough inside. This step enhances crust formation and ensures the bread cooks evenly. For a sheet pan, lightly grease it with butter to prevent sticking and promote browning.
Temperature and Timing Guidelines
Preheating your oven to the correct temperature is crucial. For most recipes, preheat to 400°F (200°C). Once the oven is ready, place your dough in the skillet or on the prepared sheet pan. Bake for 35-45 minutes, or until the top is golden and sounds hollow when tapped.
After baking, transfer the loaf to a wire rack to cool. This prevents the crust from becoming soggy. If you notice uneven browning, adjust the rack position in the oven next time to ensure even heat distribution.
Remember, every oven behaves differently. Keep an eye on your loaf during the last 10 minutes of baking and adjust the temperature if necessary. This attention to detail will help you achieve consistent results.
Variations and Customization Options
The beauty of this traditional dish lies in its adaptability. While the classic version remains a staple, experimenting with new flavors can keep the recipe fresh and exciting. Here are some creative ways to put your own spin on the family favorite while staying true to its heritage.
Raisins, Cranberries, and Other Mix-ins
Add a touch of sweetness with raisins or cranberries. Including a cup of either will enhance the flavor profile and add texture. For a tangy twist, substitute raisins with cranberries to balance the sweetness. These additions blend seamlessly with the dough, creating a delightful surprise in each bite.
Adding a Sourdough Twist
Incorporate sourdough discard to add a tangy dimension. Replace part of the flour and buttermilk with sourdough for an extra layer of flavor. This method not only enhances taste but also connects the bread to artisanal baking traditions, offering a modern yet rooted variation.
Adjusting Sweetness and Texture
Balance the bread’s sweetness by adding a tablespoon of sugar. Adjusting the egg quantity can alter the loaf’s density, making it lighter or richer. These subtle tweaks allow for personalization without straying from the original method.
These variations keep the classic recipe vibrant and adaptable, ensuring it remains a beloved tradition for years to come. Feel free to experiment with mix-ins and twists while respecting the time-honored techniques that make this bread special.
Common Mistakes and Expert Remedies
Achieving the perfect loaf requires attention to common pitfalls. Overmixing and overhandling are frequent mistakes that can lead to a dense, tough texture. Let’s explore these issues and how to address them.
Avoiding Overmixing
- Stop mixing once ingredients come together to prevent a dense texture.
- Use a sharp knife for scoring to ensure even expansion during baking.
Overmixing activates too much gluten, making the dough tough. Mix wet and dry ingredients just until combined. A gentle touch preserves the dough’s delicate structure.
Handling the Dough Gently
- Knead lightly for about a minute to form the dough without overworking it.
- Keep ingredients cold to maintain structure and even rising.
Work quickly to prevent the dough from warming up. This helps the baking soda react properly with buttermilk, ensuring a light interior and crusty exterior.
Personal experience taught me that gentle handling and minimal mixing yield the best results. By avoiding these common mistakes, you’ll bake a loaf that’s both crusty and tender, just like my grandmother’s.
Conclusion
As we conclude this journey through my treasured family recipe, I hope you’ve gained the confidence to create a stunning loaf that honors tradition while embracing your own creativity. From the initial mix of simple ingredients to the final scoring of the dough, each step is a testament to the beauty of quick bread baking.
Remember, the key to a perfect crust lies in using a preheated cast iron skillet and ensuring your ingredients are chilled. Don’t forget to score the dough with a sharp knife for that classic cross. Store leftovers in an airtight container and enjoy at room temperature for the best flavor.
I’d love to hear about your baking adventures! Share your experiences, tips, and any twists you’ve added to make this bread your own. Whether it’s for St. Patrick’s Day or a cozy evening at home, this loaf is sure to become a cherished tradition in your kitchen. Happy baking!
FAQ
Can I make Irish Soda Bread without buttermilk?
Yes, you can make a substitute by mixing 1 cup of milk with 1 tablespoon of white vinegar or lemon juice. Let it sit for 5-10 minutes until it thickens before using it in place of buttermilk.
What’s the purpose of baking soda in the recipe?
Baking soda acts as a leavening agent, helping the dough rise without yeast. It reacts with the acidity in buttermilk to create a light texture.
Why is the dough so sticky, and how do I handle it?
The stickiness comes from the buttermilk and flour ratio. Lightly flour your hands and surface, handling the dough gently to avoid overworking it, which can make it tough.
Can I use a regular oven instead of a cast iron skillet?
Absolutely, you can bake the bread on a baking sheet. Preheat the oven to 400°F (200°C) and bake for about 35-40 minutes, until the top is golden brown.
How do I achieve the perfect crust?
A crispy crust comes from high oven temperature and proper scoring. Cut the dough deeply and bake in a preheated oven to get the best results.
What’s the best way to store Irish Soda Bread?
Store it in an airtight container at room temperature for up to 2 days. Freeze for longer storage, up to 2 months, and thaw at room temperature.
Can I add raisins or other mix-ins to the dough?
Yes, you can add raisins, cranberries, or herbs. Fold them into the dough after mixing dry and wet ingredients for even distribution.
How do I prevent the bread from becoming too dense?
Avoid overmixing the dough, as it develops too much gluten, leading to density. Mix wet and dry ingredients separately and combine gently.
Can I make the dough ahead of time?
While best baked fresh, you can refrigerate the dough for up to a day. Let it come to room temperature before baking.
What tools are essential for baking Irish Soda Bread?
You’ll need a large mixing bowl, a sharp knife for scoring, and bakeware like a skillet or baking sheet. A pastry scraper can help with handling the dough.